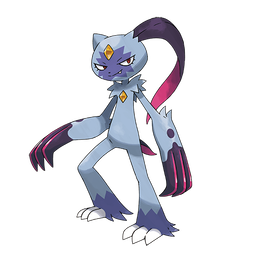
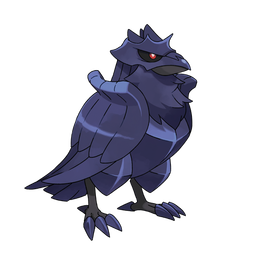
Sneasler
- Role
- Format-defining fast pressure
- Format
- Double
Sneasler is the top Double Battle environment pick because its speed and immediate pressure shape what teams must prepare for.
Sneasler is the top Double Battle environment pick because its speed and immediate pressure shape what teams must prepare for.
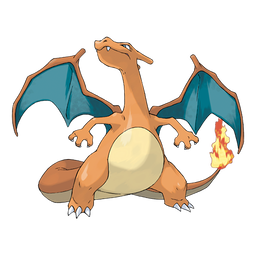
Charizard is treated as one of the Mega choices that defines the format, with enough offensive flexibility to demand dedicated answers.
Iron Valiant sits in the top row because its fast mixed pressure can threaten many common cores before they stabilize.
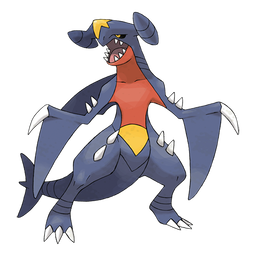
Garchomp belongs among the environment-defining choices thanks to its dependable damage, strong typing, and easy fit on many teams.
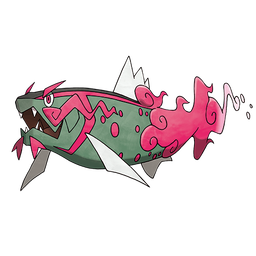
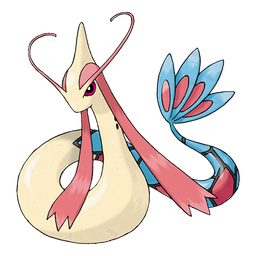
Basculegion is ranked as a top threat because rain support can turn its already dangerous damage into a central win condition.
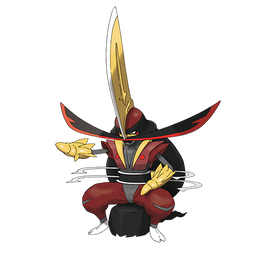
Kingambit earns SS placement as a hard-hitting endgame piece that punishes weakened teams and gives bulky structures a reliable closer.
Incineroar remains an SS-level support because its pivoting and disruption value are useful across many Double Battle team styles.
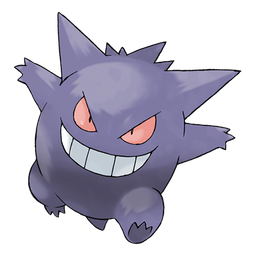
Gengar is described as very strong in Double Battle, but slightly harder to operate than the absolute top Mega and speed-control threats.
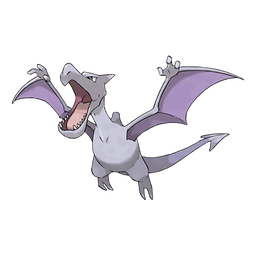
Aerodactyl is valued for fast pressure and Mega flexibility, giving teams tempo even when it is not the easiest pick to pilot.
Farigiraf ranks highly because priority blocking and Trick Room support are practical tools for protecting setup turns.
Whimsicott's support value is first-rate in Double Battle, especially for tempo control and enabling partners.
Froslass is ranked high because it becomes very strong when its EVs and snow-oriented team structure are planned carefully.
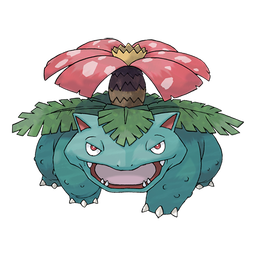
Venusaur stays in S because its sleep pressure, speed in sun, and Mega option give it several real Double Battle routes.
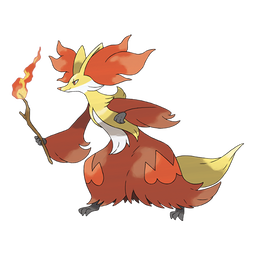
Delphox is treated as one of the strongest specialist picks, with Mega utility and positioning tools that can swing key matchups.
Armarouge belongs in S because it can convert protected setup turns into heavy spread or Trick Room pressure.
Rotom Wash earns a high spot through flexible defensive typing, useful damage, and the ability to fit into many balanced teams.
Milotic is ranked high because it punishes common stat-control plans and gives teams a durable Water-type stabilizer.
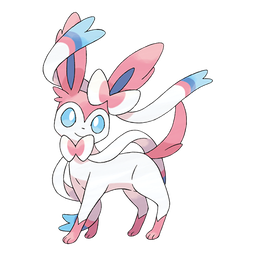
Sylveon is a strong Double pick because Fairy spread pressure is easy to support and difficult for many offensive teams to ignore.

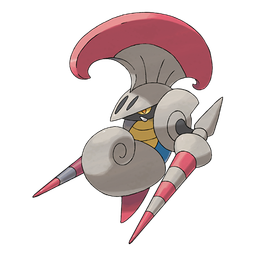
Aegislash is valued for its flexible offense-defense profile, giving teams a strong switch and punishment option.
Maushold reaches S because redirection and partner protection are especially valuable when the format revolves around enabling key turns.
Escavalier rounds out S as a strong slow attacker that can pressure teams when Trick Room or speed control is on its side.
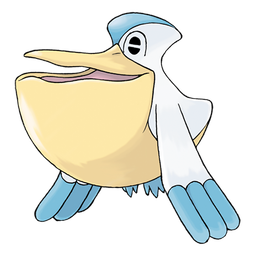
Pelipper is useful because rain teams need a setter, but its value depends heavily on whether the rest of the team uses rain well.
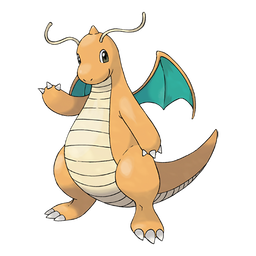
Dragonite remains worth using because both Mega and non-Mega styles can pressure teams, though it needs the right support.
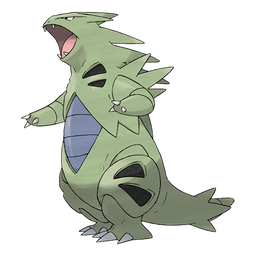
Tyranitar is an A-tier sand piece because it brings weather and bulk, but it needs partners that exploit its sand turns.
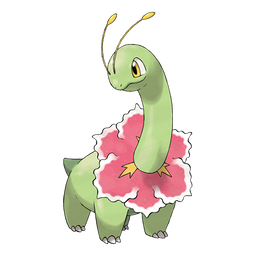
Meganium is usable as a defensive support pick when a team wants stability more than immediate offensive tempo.
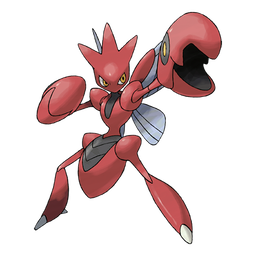
Scizor is worth using because priority and Steel typing give it practical cleanup value, though it is not format-defining.

Talonflame has a clear role as fast Tailwind pressure, but its value depends on keeping momentum before it is traded down.
Sableye is placed in A because disruptive support can steal turns, but its damage and matchup profile keep it below the top supports.
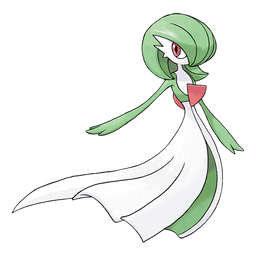
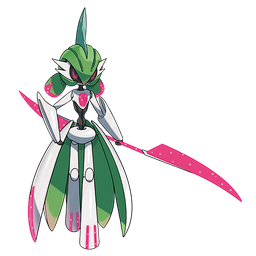
Gardevoir offers useful Fairy and Psychic pressure, making it a playable option when the team can cover its defensive issues.
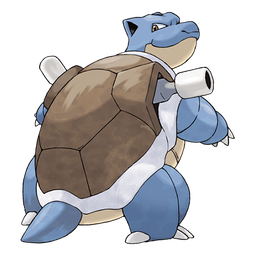
Blastoise has rich play patterns and good bulk, but it fits more naturally in A than in the defining tiers.

Torkoal is useful because sun and Trick Room can amplify it, but it needs careful positioning to avoid being controlled.
Corviknight gives teams defensive coverage and useful utility, though it usually supports a plan rather than defining one.
Excadrill is an A-tier partner for sand builds because it can exploit sand speed, but it is more dependent on Tyranitar-style support.
Kommo-o has enough setup pressure to be worth using, especially when the team can create safe turns for it.
Ceruledge provides strong offensive pressure and useful resistances, but it needs support to handle faster threats.
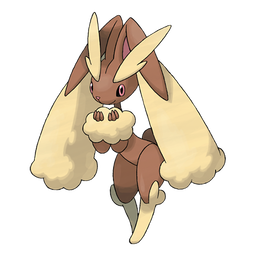
Lopunny is playable because its toolkit is broad, yet it is ranked as an A pick rather than a central format threat.
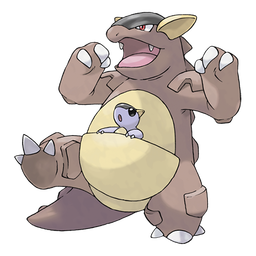
Kangaskhan remains useful in Double Battle, but it is less mandatory here than in Single Battle.
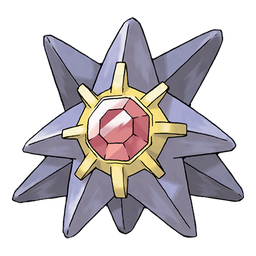
Starmie has strong offensive reach and speed, but it sits in A because it depends on matchups and team support.
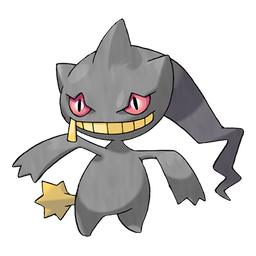
Banette can create disruptive lines and punish opponents, but its ceiling comes with a higher execution requirement.
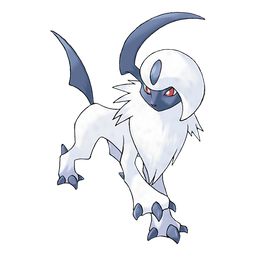
Absol is worth testing as a pressure pick, though its frailty means it needs careful positioning.

Alolan Ninetales can support snow and screens, but it sits below Froslass because the stronger snow core competes for the slot.
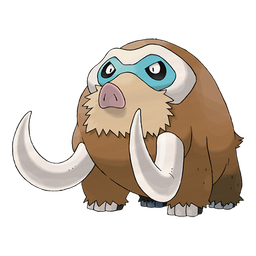
Mamoswine is useful for its Ice and Ground coverage, especially when a team needs direct answers to Dragon and Ground-weak targets.
Meowscarada gives teams speed and targeted pressure, but it is more of a strong option than an environment-defining pick.
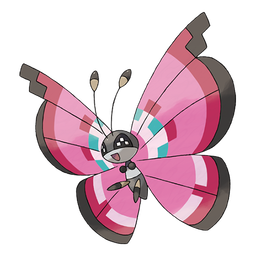
Vivillon can still create disruptive turns, but its lower consistency keeps it in A.
Gyarados is a useful defensive-offensive bridge because Intimidate and setup pressure can both matter in longer games.
Hisuian Arcanine is useful for Rock coverage and immediate pressure, but it needs help into Water and Ground pressure.
Rotom Heat is playable as a flexible coverage piece when a team wants Electric utility plus Fire pressure.
Arcanine stays useful through Intimidate, Fire coverage, and simple positioning value for balanced teams.
Slowbro can work in slower plans thanks to bulk and Trick Room compatibility, but it is more team-specific.

Cloyster is included as a usable setup attacker, though it needs protected turns and careful matchup selection.
Azumarill is worth using for bulky Fairy pressure and priority cleanup, especially when partners cover its tempo issues.
Gallade rounds out A because it has real utility and damage, but it usually needs a specific role on the team.
The current top picks differ by format. Use the Double Battle and Single Battle tabs to compare the strongest launch-window rankings.
No. Use SS and S tier as starting points, then adjust for your format, role coverage, and confirmed compatibility.
Keep building better Pokemon Champions teams with more guide coverage.
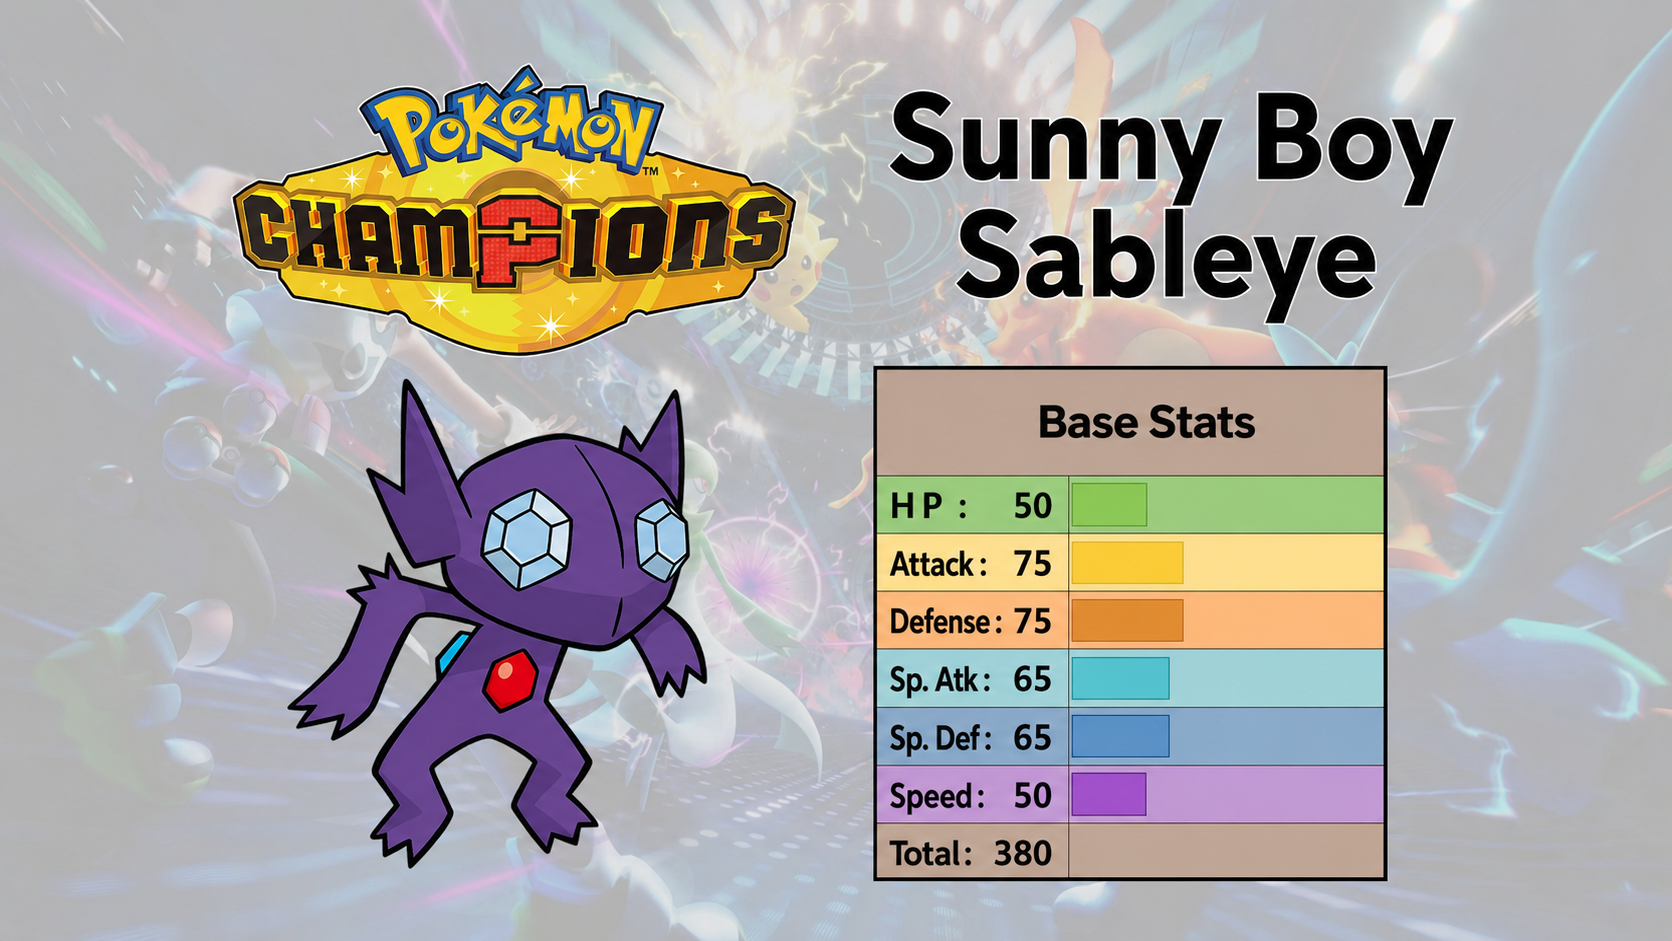
Complete Pokemon Champions Sableye build guide for Regulation Set M-B, covering Prankster, Light Clay screens, Rain Dance, Encore, Disable, Will-O-Wisp, EVs, partners, and counters.
Read guide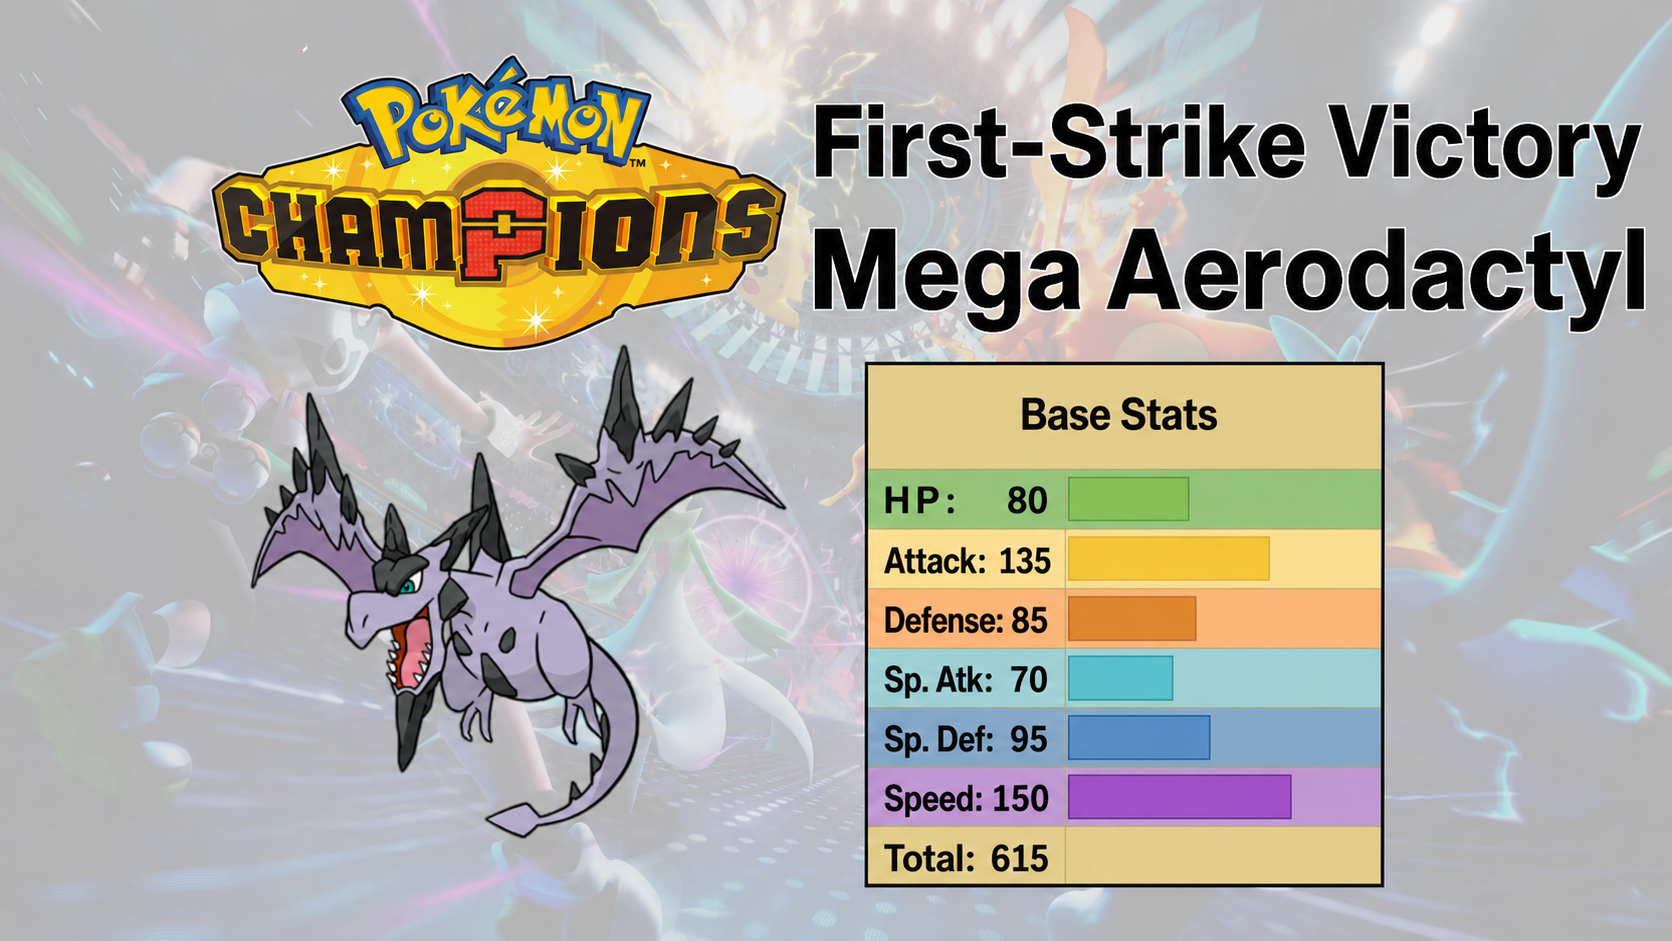
Complete Pokemon Champions Mega Aerodactyl build guide for Regulation Set M-B, covering Tailwind, Rock Slide, Dual Wingbeat, Ice Fang, Wide Guard, EVs, damage benchmarks, partners, and counterplay.
Read guide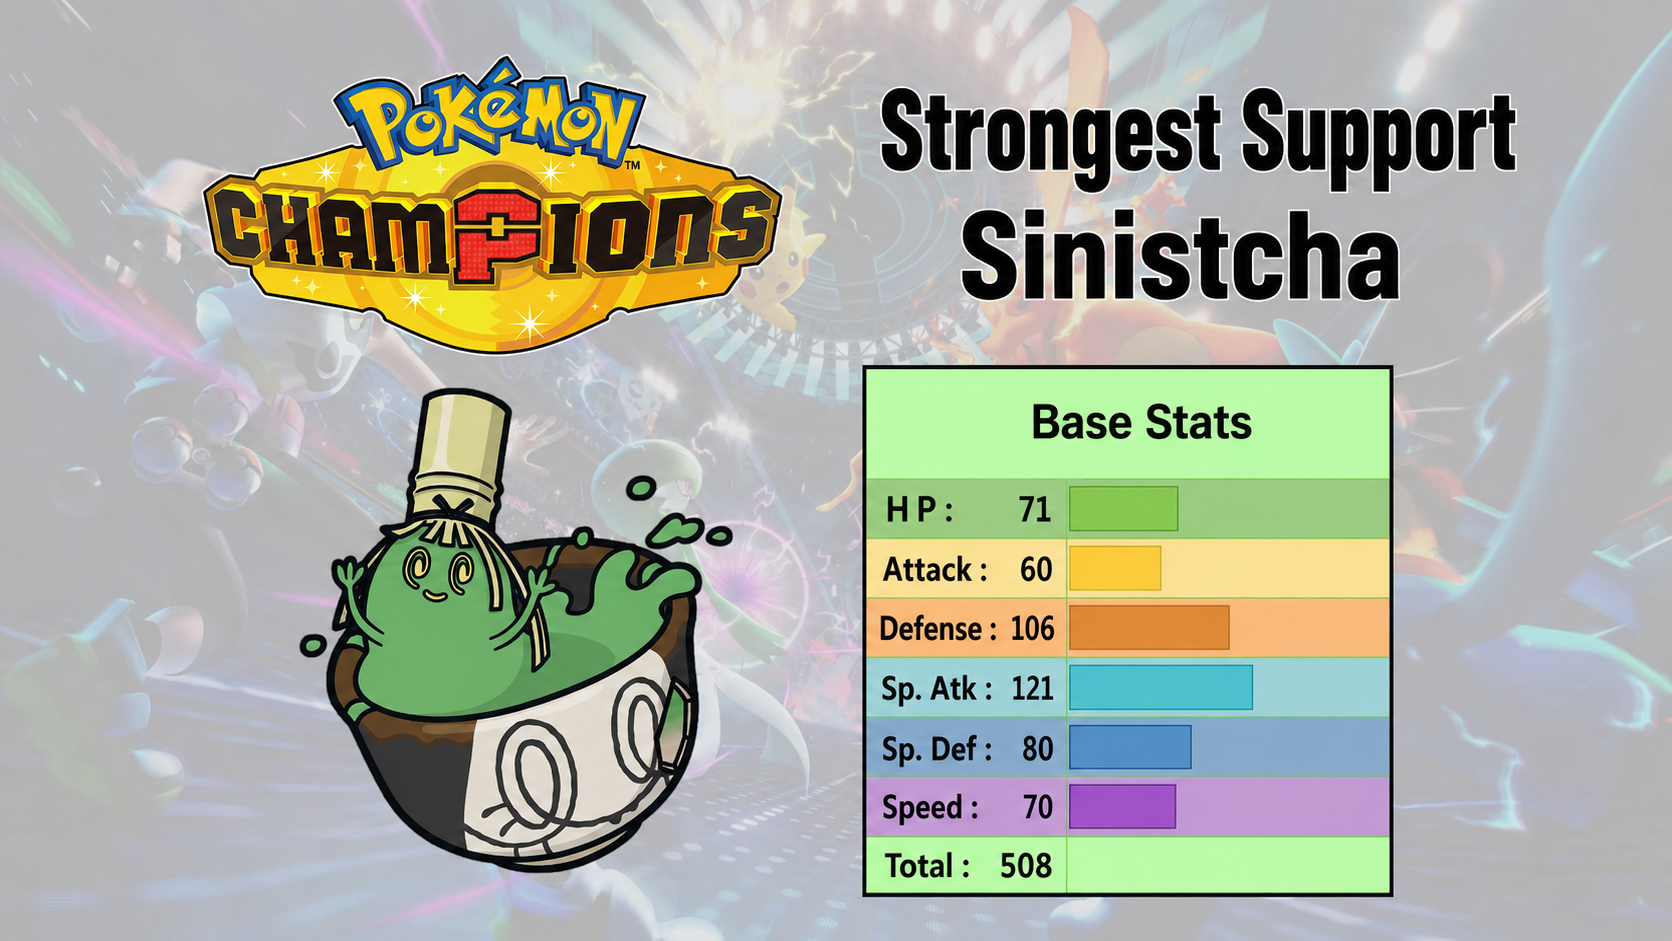
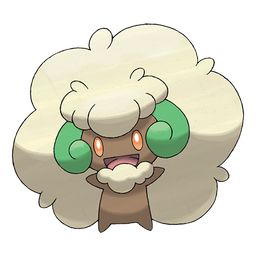
Complete Pokemon Champions Sinistcha build guide for Regulation Set M-B, covering Hospitality, Rage Powder, Matcha Gotcha, Life Dew, Trick Room, EVs, resist berries, matchups, and Shell Smash Blastoise teams.
Read guide