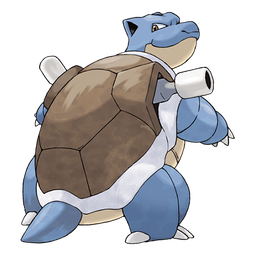
Garchomp
- Role
- Top physical attacker
- Format
- Single
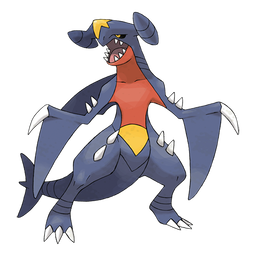
Garchomp is the deserved Single Battle king because its pressure, coverage, and consistency define the ladder.
Garchomp is the deserved Single Battle king because its pressure, coverage, and consistency define the ladder.
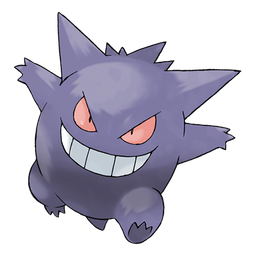
Gengar is placed at the top because trapping and fast pressure make it one of the hardest Single Battle threats to answer safely.
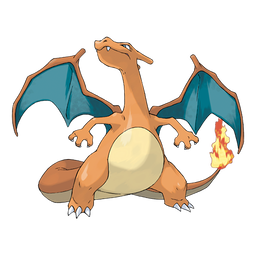
Charizard reaches SS because its Mega options are extremely strong and difficult to read at preview.
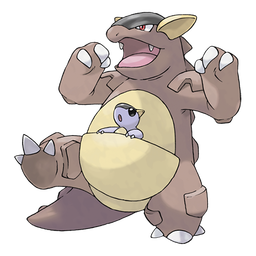
Kangaskhan is treated as an absolute Single Battle top pick thanks to its strong Mega pressure and straightforward win condition.
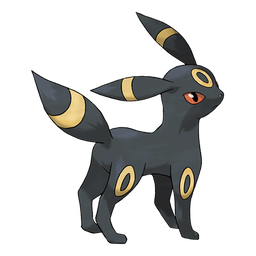
Umbreon is ranked near the top of S because its splashability and ability to support many attackers are exceptional.

Aegislash earns S through its strong defensive profile and the mind games created by switching between offense and defense.
Hippowdon is a strong Single Battle pick because it gives sand teams a sturdy defensive base and reliable matchup control.
Froslass is ranked high because its current builds are stronger than older snow alternatives and reward precise EV planning.
Corviknight belongs in S because it offers valuable defensive stability and can repeatedly check important physical threats.
Glimmora is a strong Single pick because it compresses hazard pressure and offensive threat into one slot.
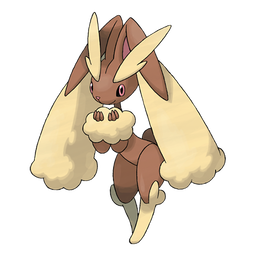
Lopunny ranks high because its varied toolkit makes it hard to predict and gives Single teams flexible offense.
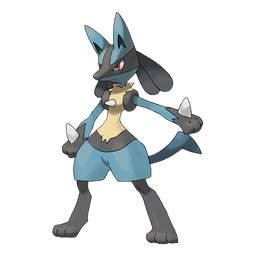
Lucario is valuable in Single Battle as a threatening attacker that can punish teams once checks are weakened.
Iron Valiant is ranked in S because mixed attacking options and strong speed make it difficult to cover with one answer.
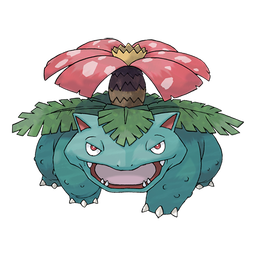
Venusaur is placed in S because its midgame recovery, Leech Seed pressure, and Mega flexibility give it several strong lines.
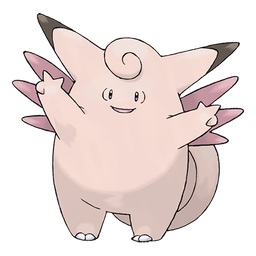
Clefable is highlighted as very strong in the current environment because its bulk and support options fit many teams.
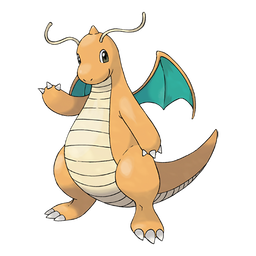
Dragonite stays in S because both Mega and non-Mega plans are threatening, even if it needs support to reach its ceiling.
Basculegion is ranked high because its damage profile can clean games once the team creates the right rain or trade sequence.
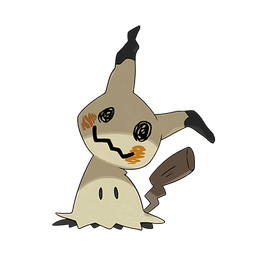
Mimikyu is strong because Disguise gives it a safer setup or revenge-kill turn than most frail attackers.
Hydreigon reaches S because its coverage and special pressure can punish many defensive plans.
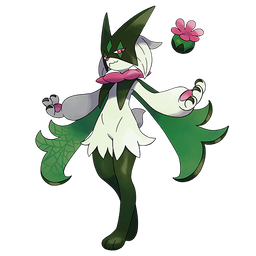
Meowscarada is placed high because speed, strong targeting, and disruptive options make it consistently useful.
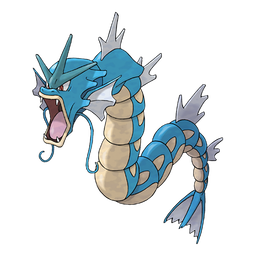
Gyarados remains a strong Single Battle pick because it can combine Intimidate, setup, and sweeping pressure.
Toxapex ranks in S because its defensive profile can slow games down and force opponents to bring specific answers.
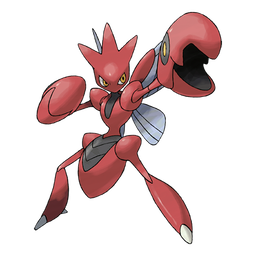
Scizor is a strong Single pick because priority, useful typing, and setup potential give it a clear cleanup role.
Rotom Wash is worth using because it offers safe defensive utility and matchup coverage without demanding a full team built around it.
Skeledirge has a useful defensive and offensive role, but it sits below the most consistent top threats.
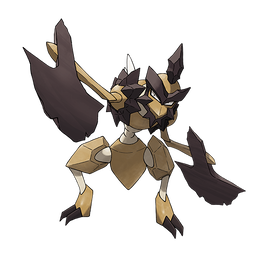
Kingambit remains a strong A pick because it can punish late-game trades, though it is less dominant than the SS attackers.
Froslass also appears as an A-style benchmark because its value depends heavily on build quality and matchup context.
Delphox is useful when its coverage and Mega tools match the field, but it is more specialized than the top Single picks.
Starmie is considered strong enough for A because its speed and offensive reach are real, though not quite S-level in consistency.
Meganium is a usable defensive pick that can support slower games, but it does not pressure teams as directly as the S tier.
Kleavor is worth using for physical pressure and matchup-specific value, but it needs the right field state to shine.
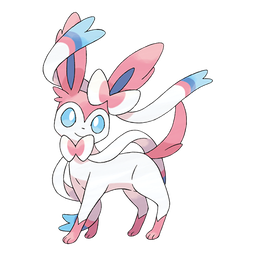
Sylveon is a good A-tier Fairy option, offering reliable damage without requiring complicated support.
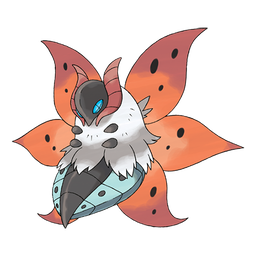
Volcarona can win games after setup, but its placement reflects how much it depends on safe entry and hazard control.
Crabominable has real breaking power, but lower speed and positioning needs keep it in the worth-using tier.
Bellibolt is usable as a durable Electric slot that can trade well, though it usually plays slower than the top threats.
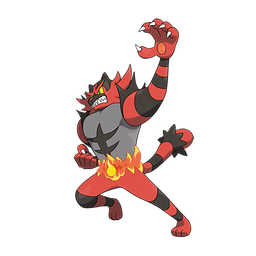
Ceruledge gives Single teams a dangerous physical option, but it needs careful support into faster matchups.
Rotom Heat is useful for role compression, checking some threats while still applying meaningful special pressure.
Armarouge has enough offensive ceiling to be worth using, especially when teams can create safe attacking turns.
Victreebel can function in sun and specific offensive structures, but its value is more team-dependent.
Banette is playable for disruptive lines and surprise value, but it is harder to use consistently.
Dragapult remains worth using because of its speed and flexible attacking profile, even if it is not placed in the highest tier here.
Greninja is ranked as usable because its speed and coverage can pressure teams, but its execution demands are higher.
Blastoise is A-tier in Single Battle because Shell Smash can sweep, but its setup timing is not always easy.
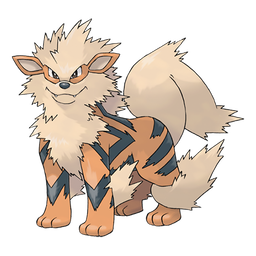
Arcanine is a solid Single pick thanks to defensive utility and Fire pressure, even if it is not as explosive as the top tier.
Incineroar remains playable in Single Battle as a bulky pivot, but it loses some of the universal value it has in Double Battle.
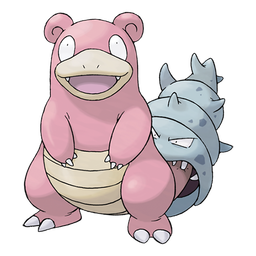
Slowbro is worth using in defensive teams because its bulk and utility can stabilize matchups against physical attackers.
The current top picks differ by format. Use the Double Battle and Single Battle tabs to compare the strongest launch-window rankings.
No. Use SS and S tier as starting points, then adjust for your format, role coverage, and confirmed compatibility.
Keep building better Pokemon Champions teams with more guide coverage.
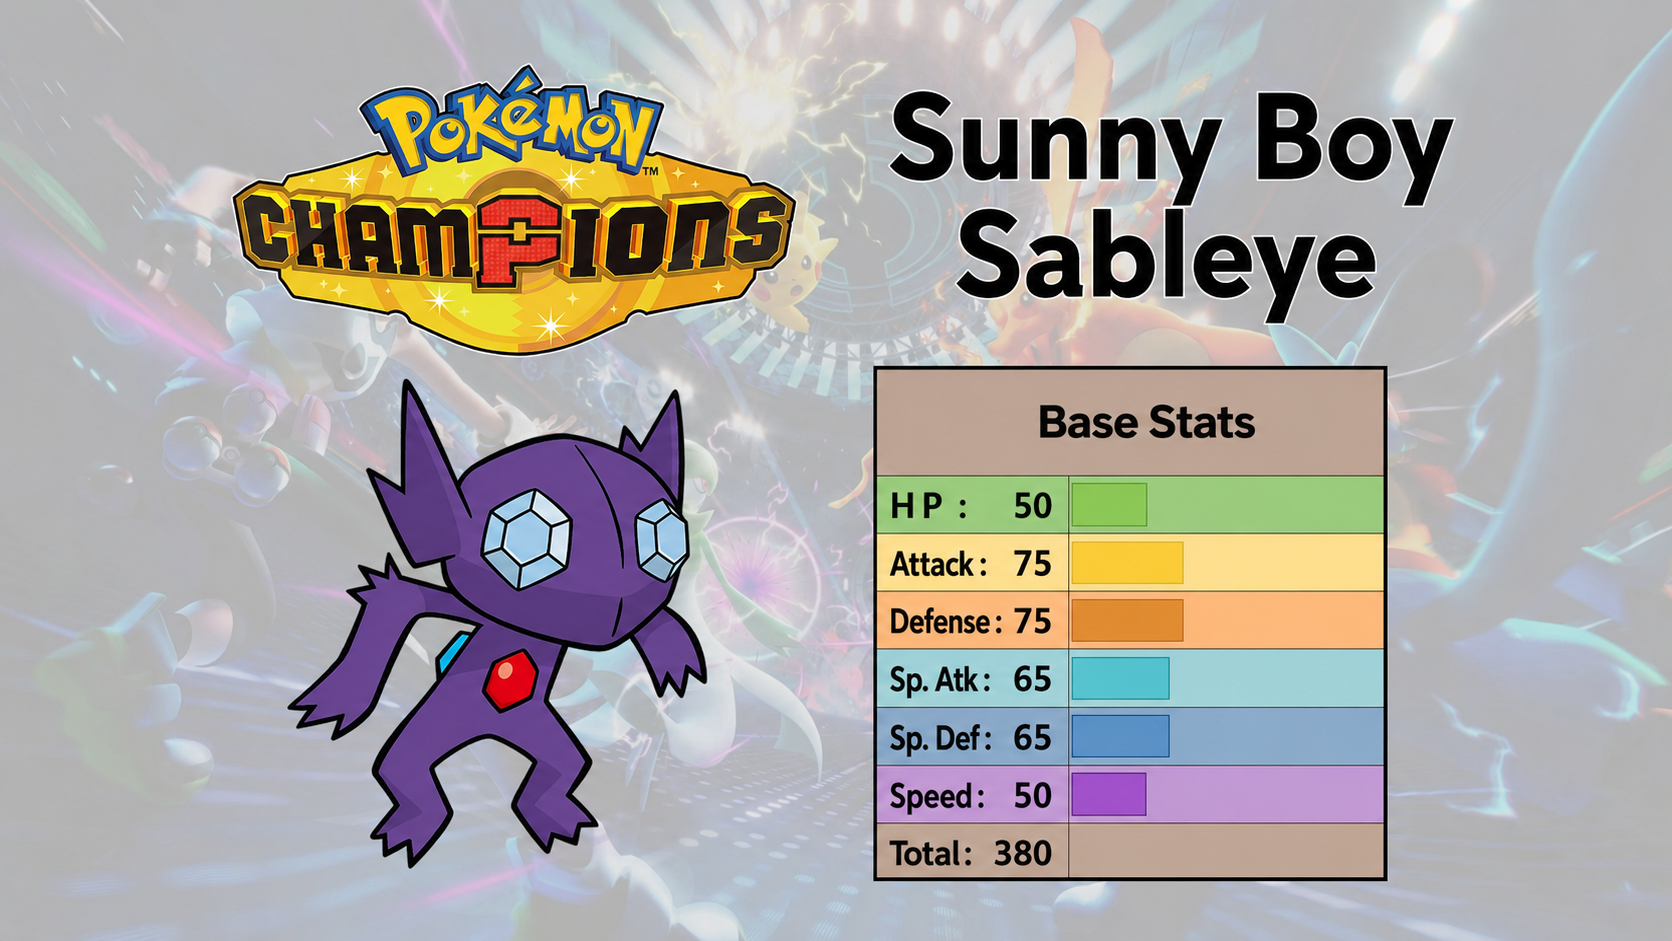
Complete Pokemon Champions Sableye build guide for Regulation Set M-B, covering Prankster, Light Clay screens, Rain Dance, Encore, Disable, Will-O-Wisp, EVs, partners, and counters.
Read guide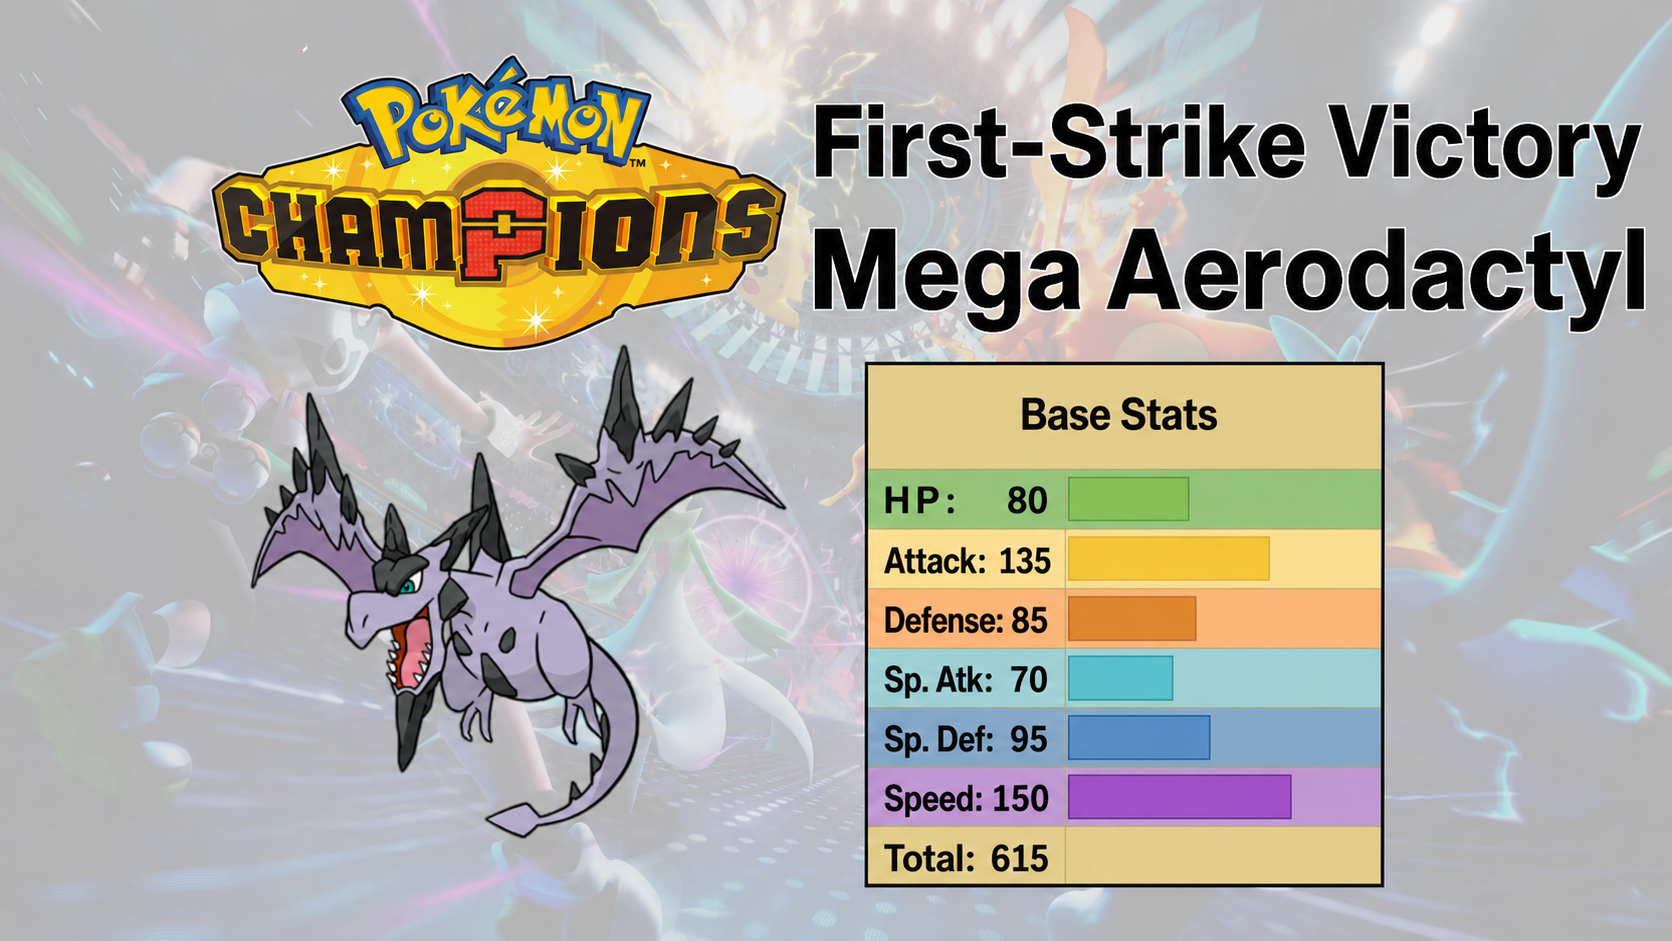
Complete Pokemon Champions Mega Aerodactyl build guide for Regulation Set M-B, covering Tailwind, Rock Slide, Dual Wingbeat, Ice Fang, Wide Guard, EVs, damage benchmarks, partners, and counterplay.
Read guide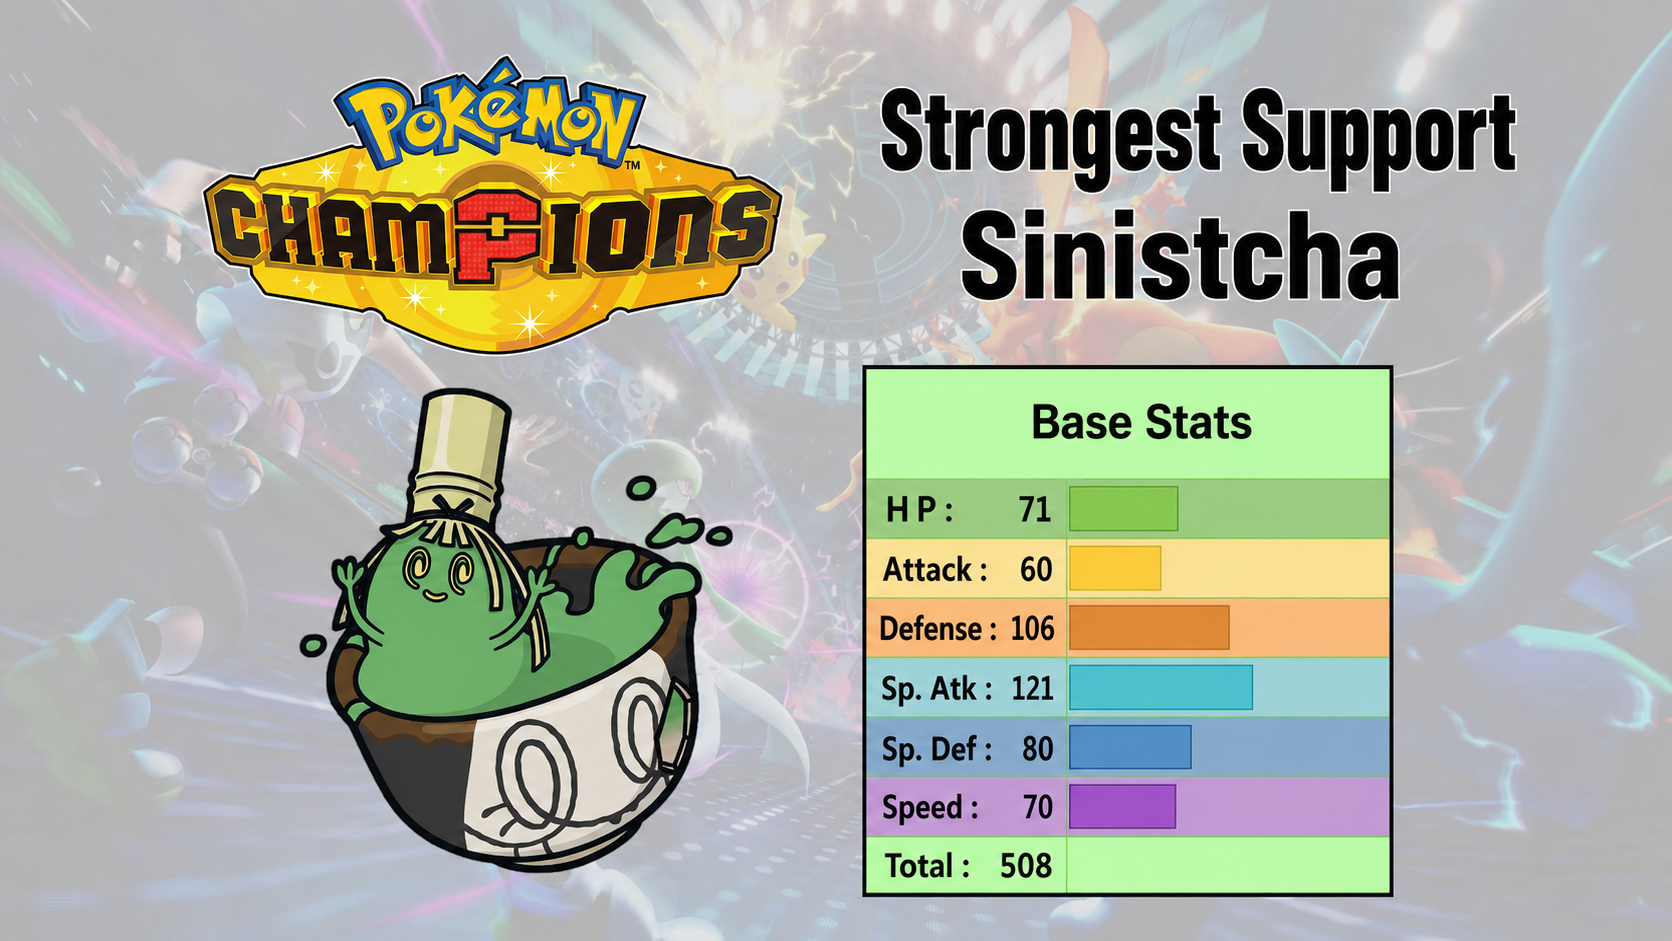
Complete Pokemon Champions Sinistcha build guide for Regulation Set M-B, covering Hospitality, Rage Powder, Matcha Gotcha, Life Dew, Trick Room, EVs, resist berries, matchups, and Shell Smash Blastoise teams.
Read guide